LEARNING CORNER · HANDS-ON WIND LAB
Make the wind.
See energy change.
The GeoWind science kit lets learners build a polyhedral rotor, then observe how wind produces rotation and how that motion can be converted into electricity.
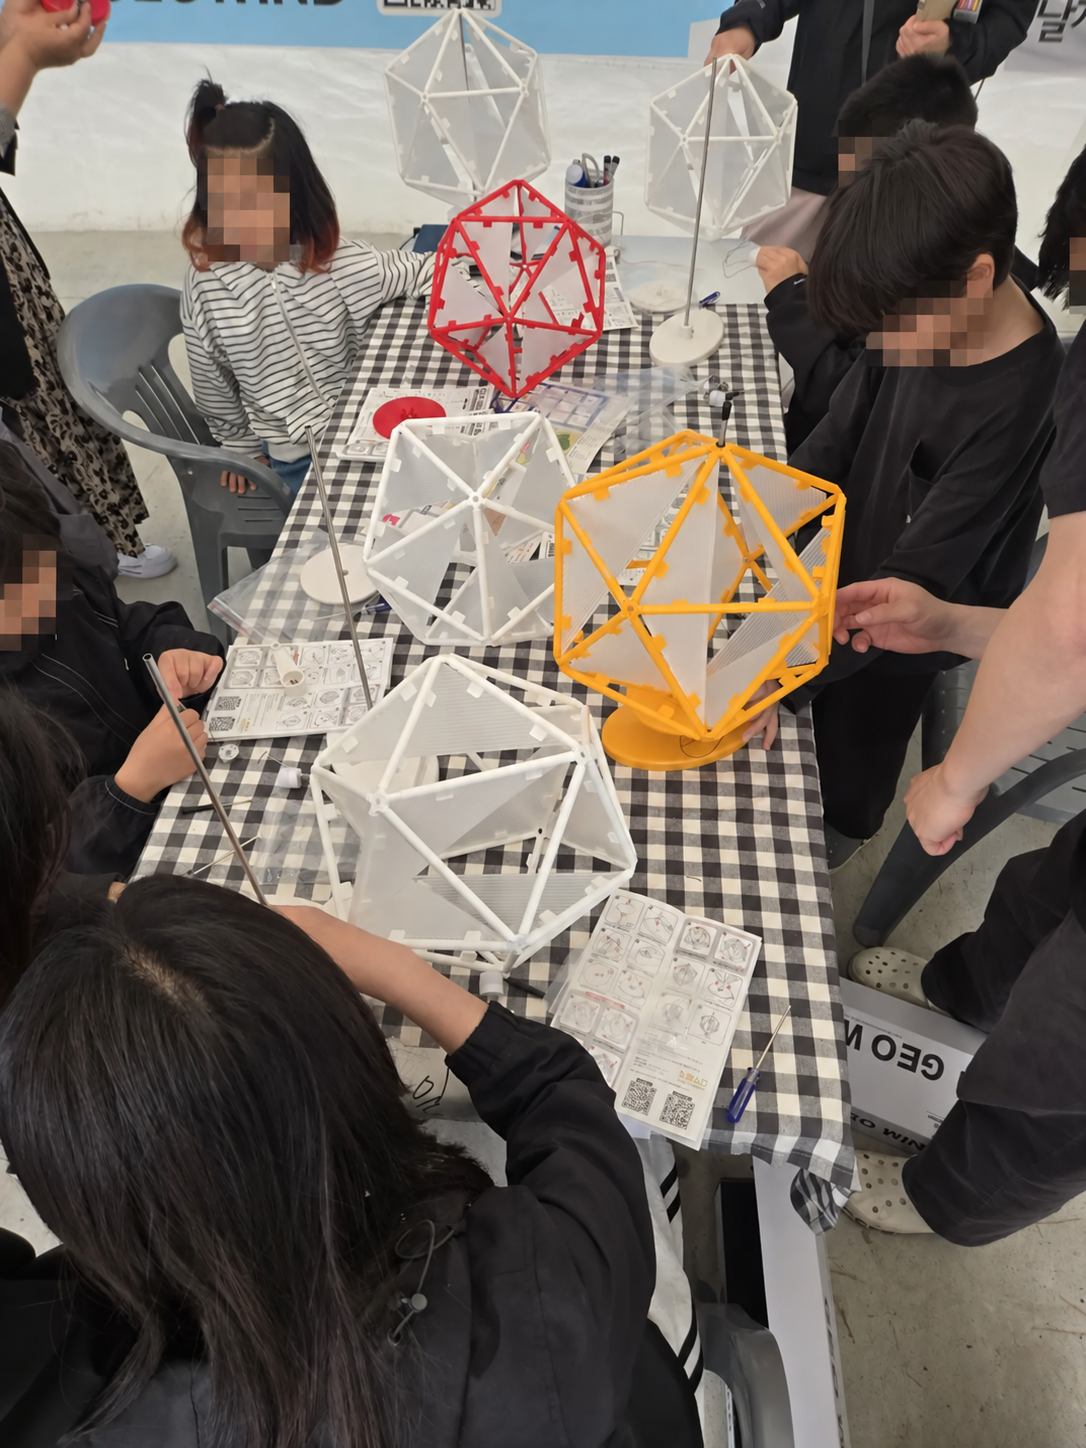
Build the structureAssemble · decorate
Watch the changeWind · motion · light
Connect subjectsScience · maths · making
GEOWIND CODING LAB · 1,200 mm PITCH PIPE
Live wind-power coding dashboard
See wind, rotation and electrical output from the 1,200 mm pitch pipe and 200 W generator on one screen.Ready
Real GeoWind footage
Wind → rotation → generator → sensor → graph
Values and charts are an educational simulation; the video is real footage from GeoWind exhibits and installations. Connect an ESP32, anemometer, voltage and current sensors over Wi-Fi or USB to extend this screen with measured data.
01 / VIRTUAL WIND LAB
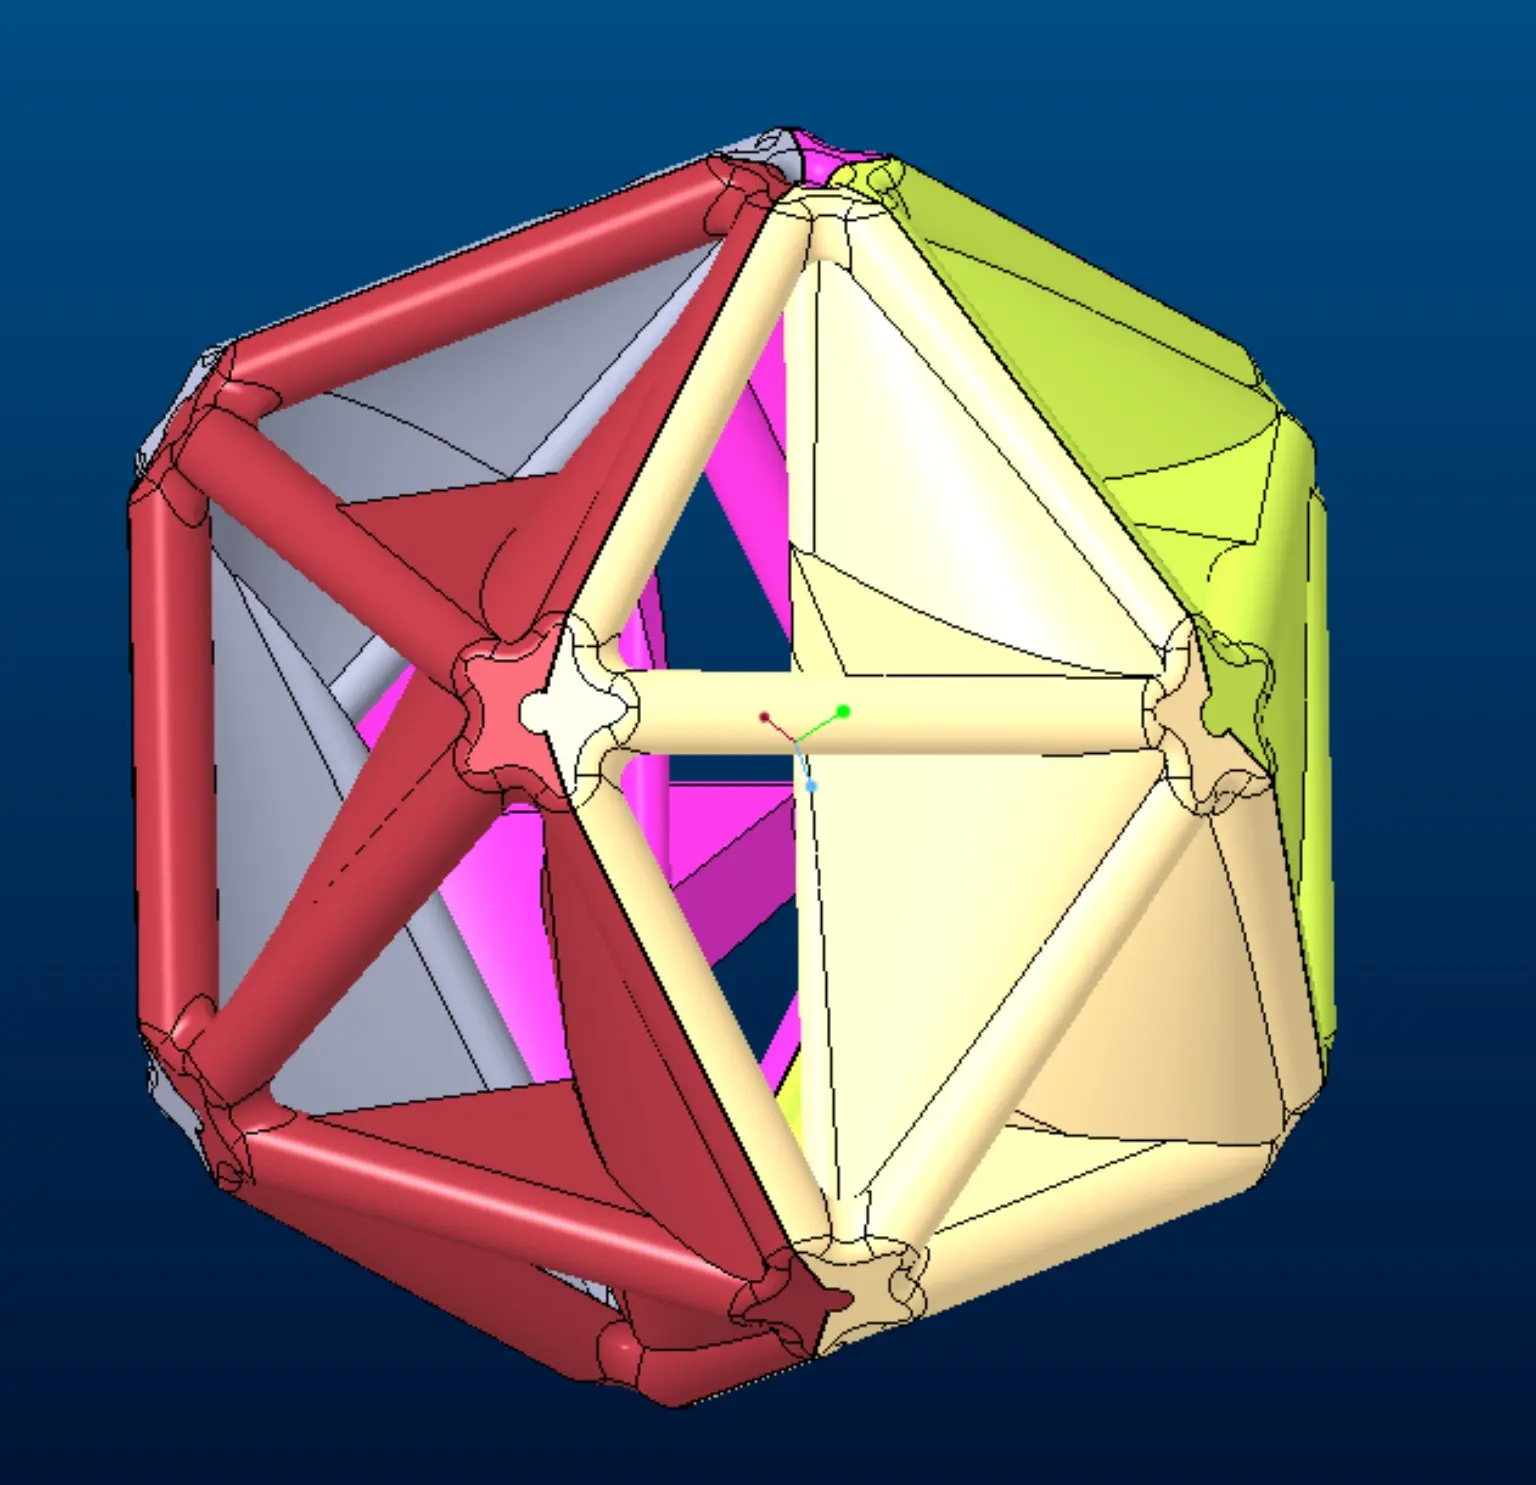
What changes as the wind gets stronger?
Move the slider to explore the relationship between rotor motion, relative generation and LED response. Predict first, change one condition, then record what you observe.
01.8510 m/s
The 1.8 m/s rotor-start threshold comes from the supplied product description.
≋ ≋ ≋
- Observation
- Below rotor start
- Relative output
- 0%
- LED response
- 0%
This is an educational model for understanding relationships. Relative output and LED response are not measured or guaranteed performance. Real results vary with the generator, load, wind and setup.
02 / LEARNING FLOW
From making to investigation and presentation.
Activities can emphasize assembly or extend into measurement and coding, depending on learners and class time.
- 01
Build the structure
Connect the polyhedral frame and blades while exploring how triangles form a three-dimensional structure.
- 02
Decorate the blades
Add colors and patterns, then compare blade direction and balance.
- 03
Test the wind
Use a fan or safe natural wind to observe changes in direction and speed.
- 04
Observe energy
Use an LED or meter connected to the generator to see motion become electrical energy.
03 / SCIENCE KIT
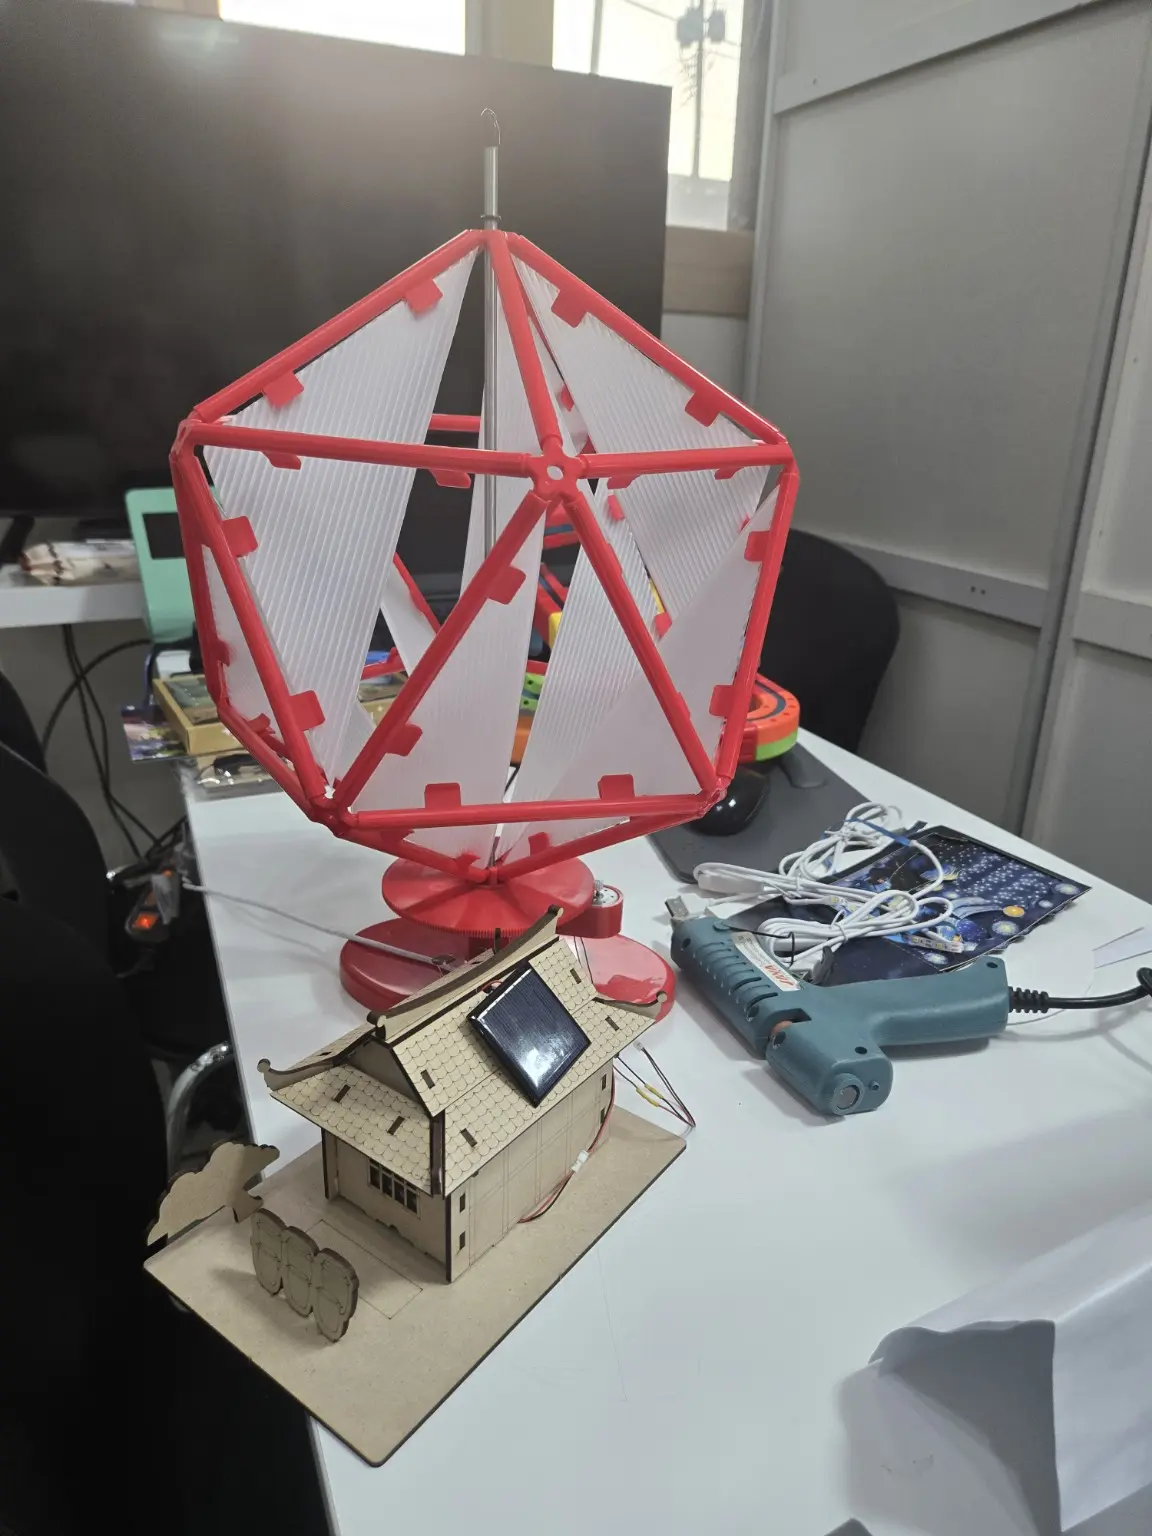
A working polyhedral rotor for hands-on experiments
Learners assemble rod-like frames and panel blades, complete the rotor, and connect its center shaft to a generator for observation. Photographs show prototypes and class examples; colors and supplied parts may vary with the final kit specification.
- Three-dimensional geometrySee how triangular frames combine to form a polyhedron.
- Energy conversionConnect wind energy → rotational motion → electrical energy → light.
- Extended investigationCompare blade angle, fan distance, wind speed and load.
04 / CLASS FORMAT
Adjust the depth for each group.
Class duration, recommended ages, kit contents and sensor availability are confirmed with each school or organization.
Early learners & families
A short, visual activity centered on decorating, assembly and watching the rotor turn.
Primary & secondary inquiry
Define variables, then compare wind speed, distance and blade conditions in a written investigation.
Maker & coding extension
Connect a voltage sensor or microcontroller to monitor change over time.
05 / FIELD GALLERY
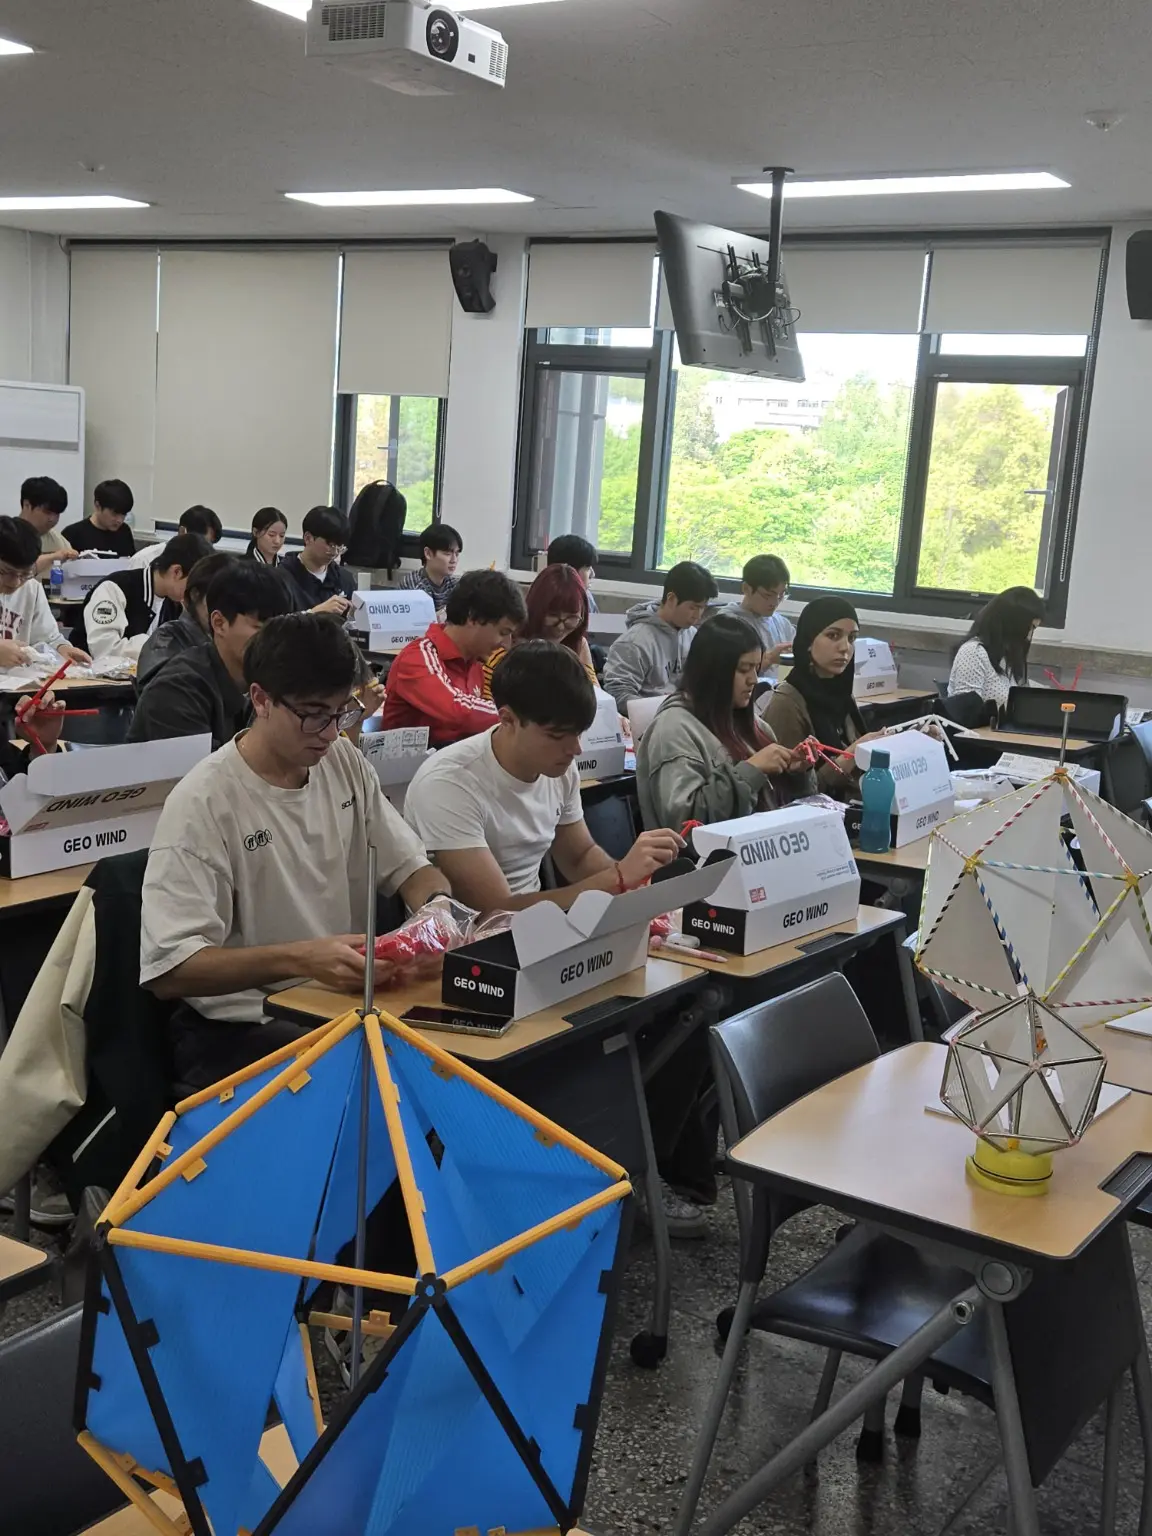
GeoWind in classrooms and hands-on events
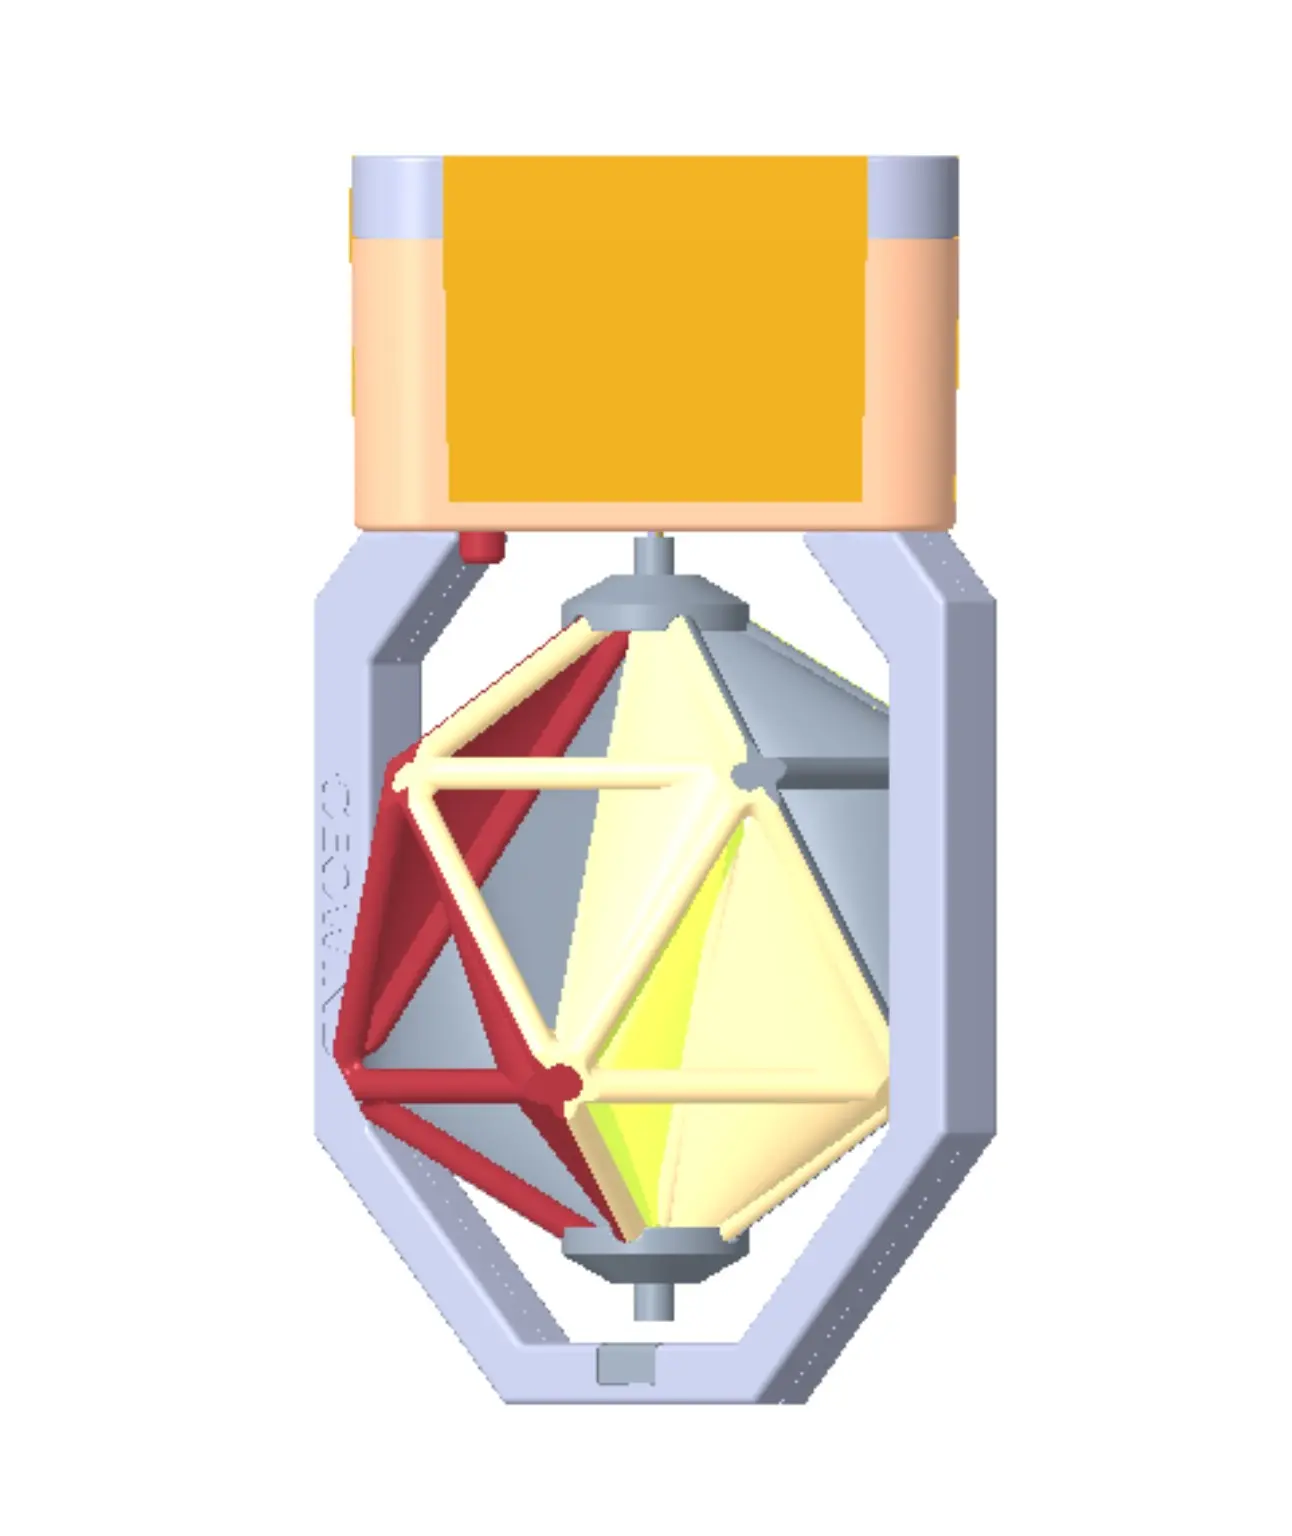
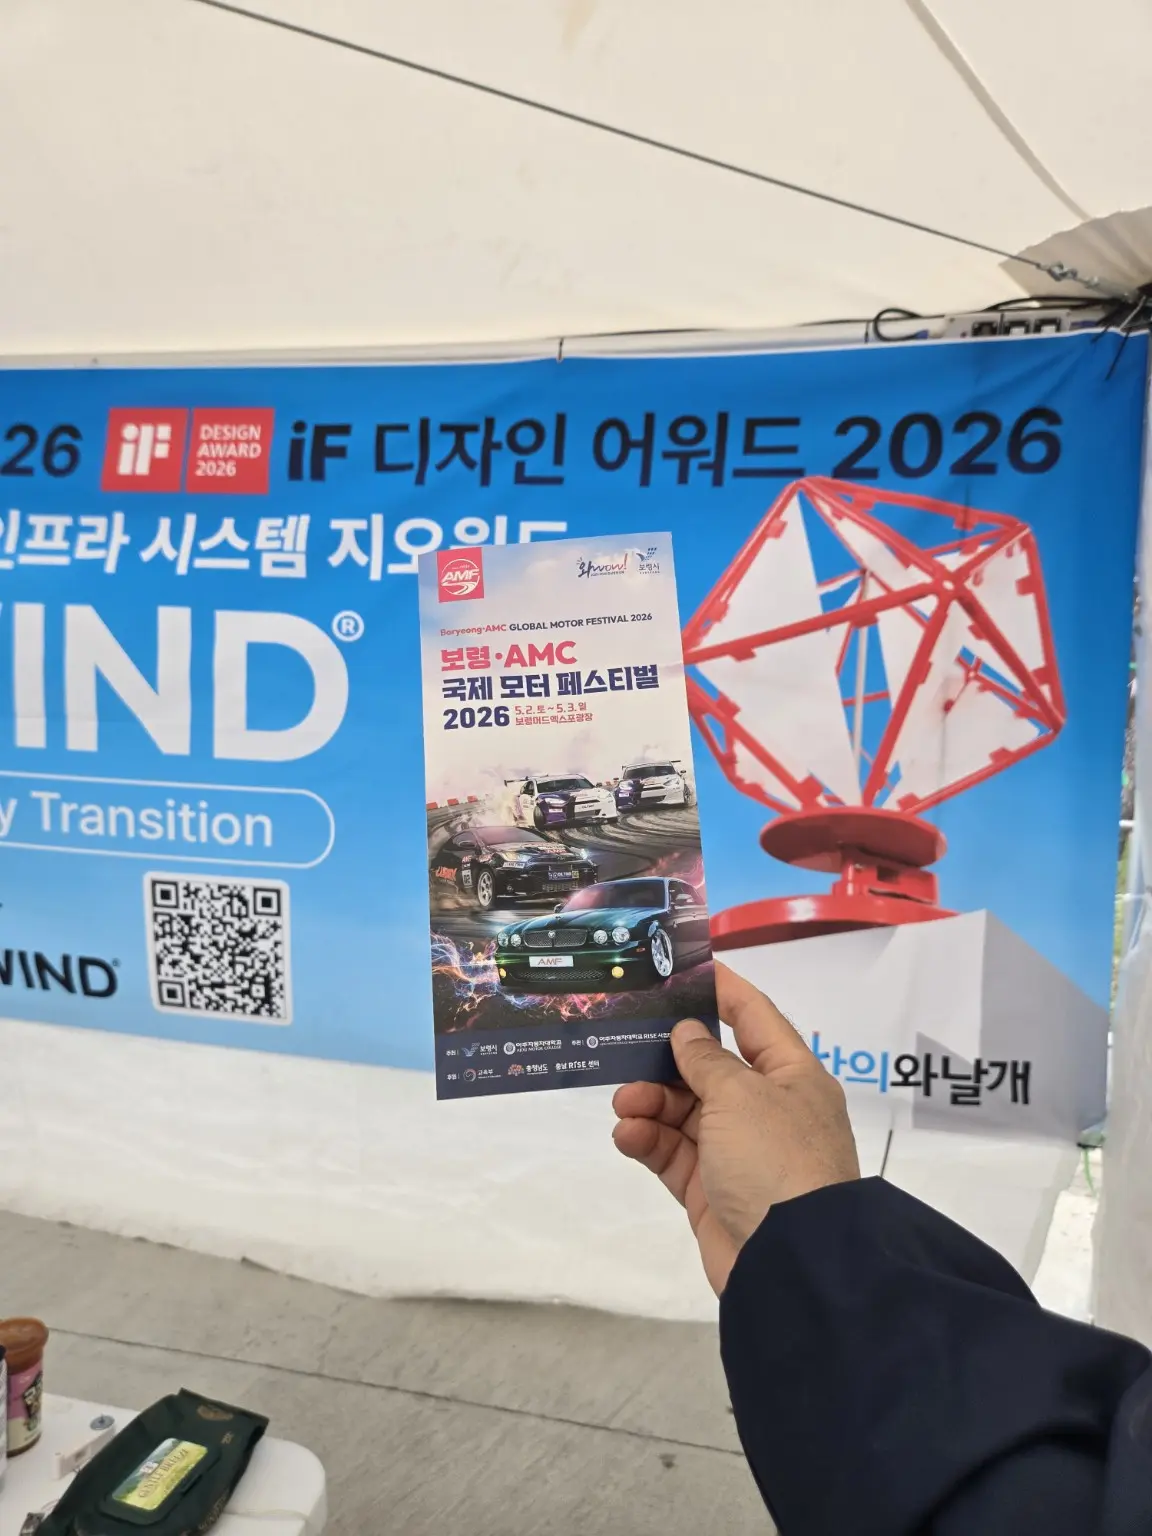
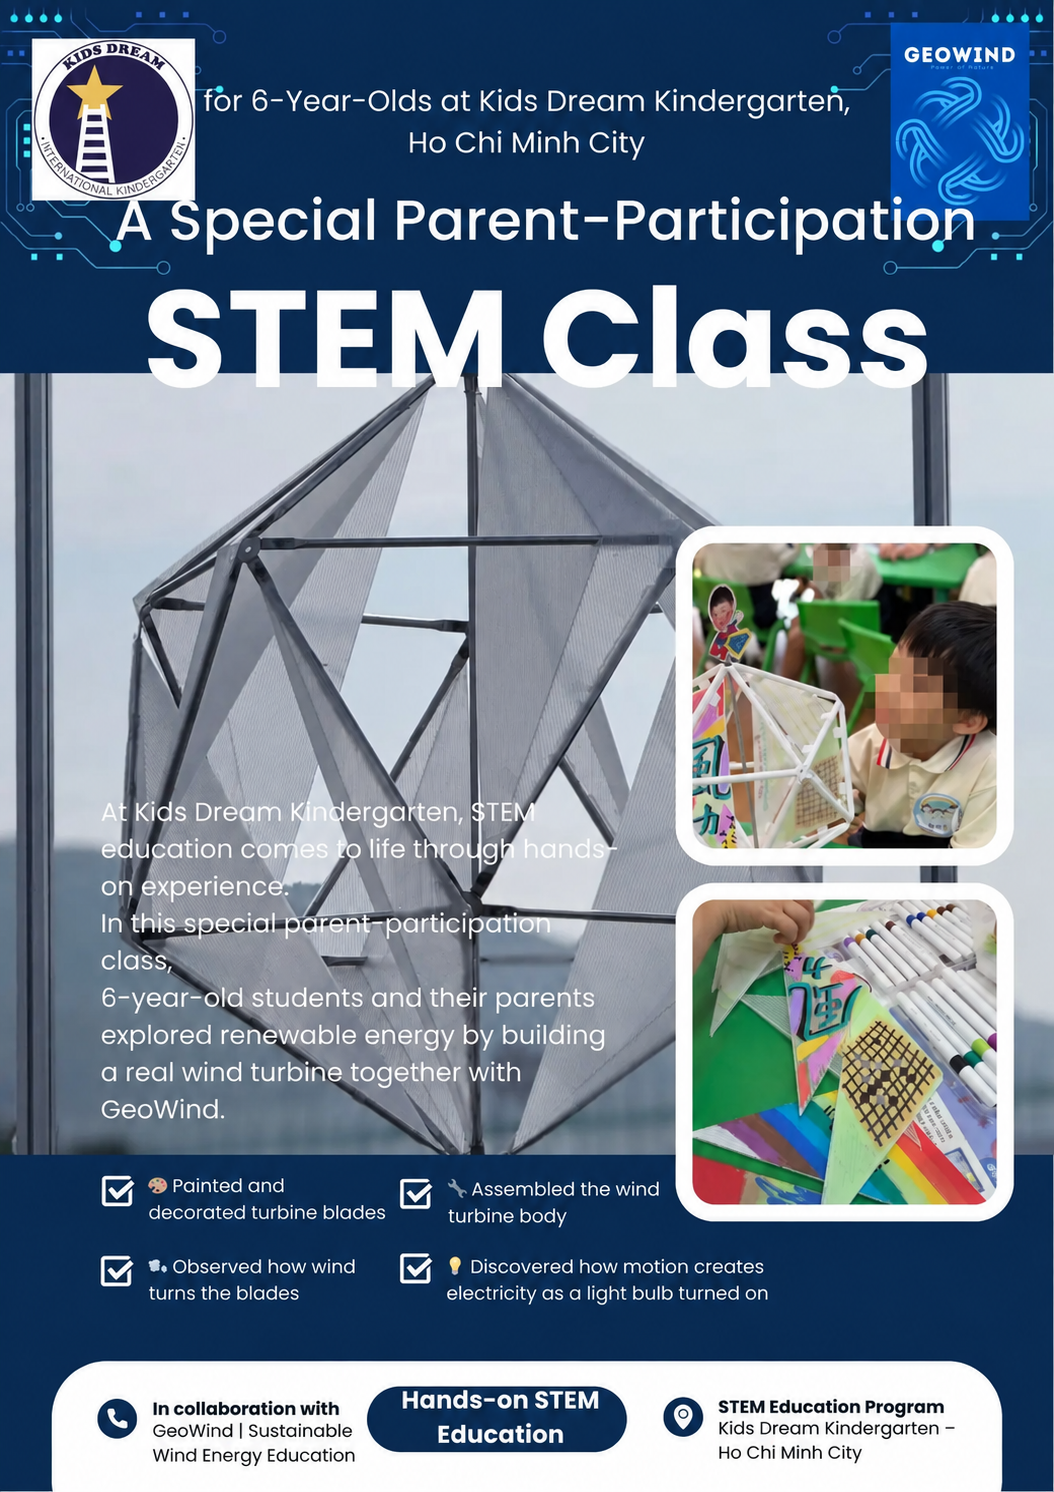
The supplied photographs show children's assembly activities, classroom making, product design and a completed prototype.
06 / CLASS FILMS
Watch the kit and workshop in motion.
Educational kit display
A field clip showing GeoWind kit boxes and an assembled rotor.
Building together
A field clip of learners assembling polyhedral rotors together.
Why learn about renewable energy?
An educational film introducing energy access and the role of renewable energy.
07 / OBSERVATION NOTE
Keep your own experiment notes.
In a physical experiment, repeat the same condition three times and compare the average for a more reliable result.
Experiment safely
- Keep hands and objects outside the blades while the rotor is turning.
- Start a fan on low and let a teacher or guardian adjust the distance.
- Turn power off before connecting wires or sensors, and never use damaged parts.
| Condition | Prediction | Observation |
|---|---|---|
| Low wind | ||
| Medium wind | ||
| Strong wind |
EDUCATION · CREATIVE & WINGS
Plan a science workshop
for your school or organization.
Tell us the learners' ages, group size, available time and learning goals so we can review an appropriate kit and class format.